 SAME DAY & EXPEDITED SHIPPING AVAILABLE






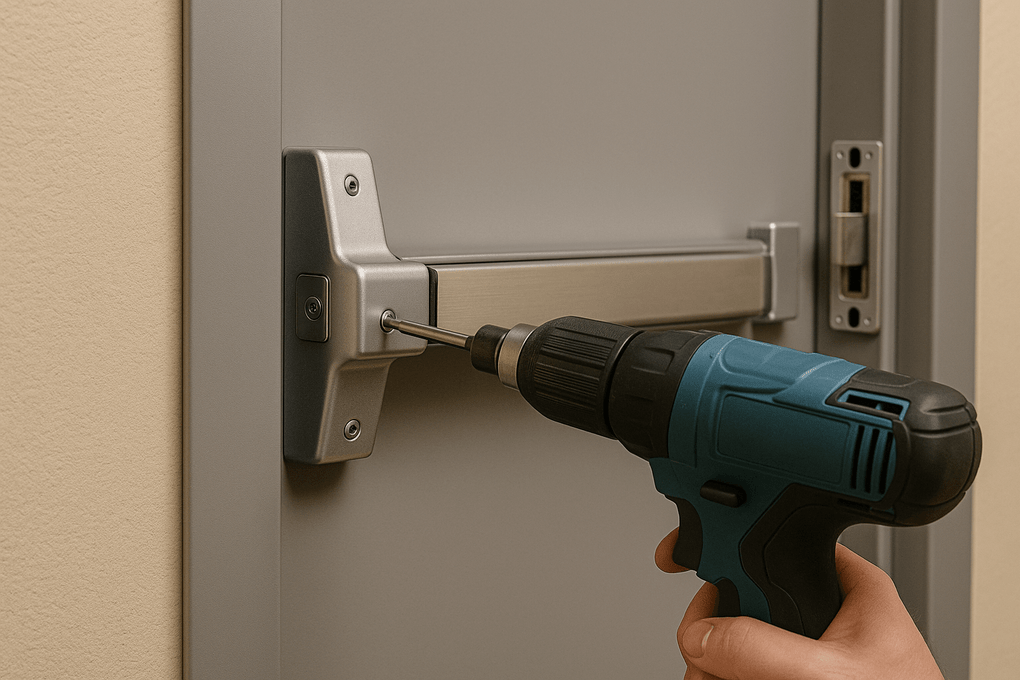
How to Install a Panic Bar: Exit Device Steps and Mounting Height
Posted by National Lock Supply on Dec 2nd 2025
To install a panic bar (exit device), confirm the code requirements and fire rating, mark the device and strike centerlines with the manufacturer's template, prepare the door and frame, mount the device and strike, then adjust and test that the touchpad releases the latch from anywhere along its length. Mounting height must fall between 34 in and 48 in above the floor; the Von Duprin 98/99 rim template places the device centerline at 39-13/16 in.
What is the correct panic bar mounting height?
Current codes require panic hardware to be mounted between 34 in and 48 in above the floor (Allegion's summary of NFPA 101 and the IBC). Existing devices may have been installed under earlier rules. Within that window, use the template that ships with the device. For example, the Von Duprin 98/99 rim exit device template sets the device centerline at 39-13/16 in (101.1 cm) from the finished floor. For double doors with a mullion and strike already installed, Von Duprin says to use the existing strike centerline.
The same code summary says the actuating portion (touchpad or crossbar) must be at least half the width of the door leaf. On balanced doors a touchpad must be used, because a crossbar can let someone push on the wrong end.
Do you need panic hardware or fire exit hardware?
Use fire exit hardware on fire-rated doors. Panic hardware is listed to UL 305 for doors that are not fire-rated. Fire exit hardware carries that listing plus a fire listing, and it does not have dogging, because a fire door must keep an active latchbolt so it latches when it closes. The IBC requires panic hardware on assembly and educational occupancies with an occupant load of 50 or more, and on high-hazard occupancies. Your authority having jurisdiction (AHJ) can require it elsewhere, so check before you buy. See rim vs surface vertical rod vs mortise vs concealed vertical rod exit devices to pick a type.
What do you need before installing?
- The manufacturer's installation instructions and template for your exact model. Do not install from a generic procedure.
- Door thickness, hand, and width. Von Duprin's 98/99 screw chart, for example, lists different screws for 1-3/4 in and 2-1/4 in doors.
- Frame type (metal or wood) and strike. Von Duprin lists separate screws for metal and wood frames.
- Drill, drill bits and taps specified in the template, screwdrivers, level, tape measure, and center punch.
- For electrified devices, a wiring plan from the door to the power supply and access control panel, made before the device goes on.
How do you install a rim panic bar? (Von Duprin 98/99 example)
These steps follow Von Duprin's 98/99 rim exit device instructions. Other brands and models differ, so confirm every step against your own sheet. For Falcon, Sargent or other lines, see the panic exit devices category and each model's instructions.
- Draw the centerlines. Mark the horizontal device and strike centerlines on the door and frame at the template height.
- Mount the strike. Align the strike on the centerline and mark its two slotted holes. Prepare the holes and install two screws; the screw chart gives the type and size for metal or wood frames.
- Mark the door. Position the template against the strike, on the centerline, and mark the door. Mark the vertical centerline and the center case mounting holes.
- Cut for the cylinder or trim, if used. For an outside cylinder, mark with the template and cut out: on a metal door, cut the device side; on a wood door, cut through. For trim with a lever, thumbpiece or knob, cut the device side only.
- Prepare the holes. Drill the four center case mounting holes and the two support holes at the sizes shown on the sheet. Hurricane-rated (HH) devices require through bolts.
- Set up the trim and cylinder. If the trim has a lock tumbler on the back of the device, set it to the UP (unlocked) position before the device goes on. Check whether the drive screw must be removed for your trim, and cut the tailpiece if a cylinder with a tailpiece is used.
- Size the device. If needed, cut the device to the door width. Temporarily remove the anti-rattle clip before cutting, as the sheet directs.
- Attach the center case to the door, surface-mounted or through-bolted, as your trim requires.
- Install the end cap bracket and end cap. Mark and prepare the two end cap holes after the lock side is mounted and the hinge side is leveled.
- Finish the device. Install the support screws and the center case cover, then remove the protective film from the push bar.
- Adjust the strike and install its support screw. Shim the strike if needed so the latch enters cleanly.
How do you install panic bars on double doors?
Pairs are typically fitted with vertical rod devices, surface or concealed, and a rim device with a mullion strike is another option. With a mullion in place, use the existing strike centerline. Rod length and top and bottom strike alignment are critical, so follow the vertical rod instructions for your model line, such as the Von Duprin 98/99 surface or concealed vertical rod sheets. Dogging is not provided on fire exit hardware, so a pair of fire-rated doors needs its own listed combination. Check the door label.
How do you test the installation?
- Press the touchpad at the center and near each end. The latch must retract from any point.
- Close the door. It should latch positively without being pushed, and the latch should enter the strike without dragging.
- Operate any outside trim, thumbpiece or cylinder with the correct key.
- Measure the release force with a force gauge. Model codes require the latch to release with a 15 lbf maximum force on the touchpad. Allegion notes that some codes limit operable force to 5 lbf, and a special UL listing marks panic hardware certified at 5 lbf or less. Confirm which applies with your AHJ and write down the reading.
- On electrified devices, confirm the door still opens mechanically with power off. Electric functions must not stop manual egress.
- On fire doors, confirm the latch projects and the door self-closes and latches.
Troubleshooting common problems
- Door will not latch: check strike alignment first, then check the door for sag. Do not shim the strike to cover a sagging door.
- Heavy push force: look for a binding latch, a strike set too tight, or a misaligned rod on vertical rod devices. Do not accept a device that exceeds its force limit.
- Loose touchpad or rattle: re-tighten the mounting screws and check the anti-rattle clip and support screws per the sheet.
- Device does not fit the door: glass or narrow-stile doors need a device and mounting made for them. Ask the manufacturer before you drill.
FAQ
How high should a panic bar be mounted?
Between 34 in and 48 in above the floor under current codes. Use your model's template; the Von Duprin 98/99 rim template sets the device centerline at 39-13/16 in.
How much force should a panic bar take to release?
Model codes require release with a maximum of 15 lbf on the touchpad. Some codes limit operable force to 5 lbf, so ask your AHJ which applies.
Can I install a panic bar on a fire door?
Yes, but only with fire exit hardware listed for fire doors and matching the door label. Fire exit hardware has no dogging.
Do I need a template to install an exit device?
Yes. The template sets the centerlines, hole locations and strike position for your exact model.
When is panic hardware required?
The IBC requires it on assembly and educational occupancies with 50 or more occupants and on high-hazard occupancies. Your AHJ can require it elsewhere.
Official sources
Steps and the 39-13/16 in centerline come from the Von Duprin 98/99 rim exit device installation instructions. Code points come from Allegion's Understanding code requirements for panic hardware.
Next step
Shop panic exit devices, including Von Duprin, Sargent and Falcon, plus exit device trims and door closers. Orders before 3:00 p.m. ET ship the same business day after card approval, with free ground shipping on $450 and up. For quantity pricing use get a quote or call 718-814-6300.